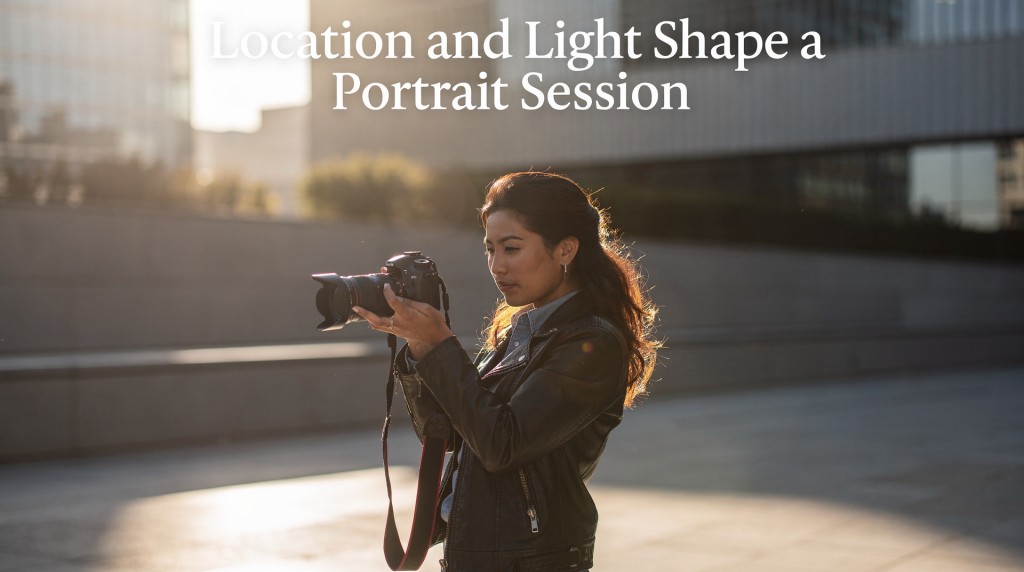
A strong portrait session is not built around the camera first. It is built around the place and the light. The right location gives the portrait context, mood, and visual variety; the right light shapes the face, sets the tone, and makes the final image feel natural instead of forced.
If you understand how location and light work together, you can plan a session that looks polished, flattering, and intentional instead of relying on luck. I’ve spent years reading light in empty rooms and on building facades for real estate shoots, and the same principles apply directly to portraiture. Whether I’m photographing a homeowner in their living room or an agent in front of a listing, the space and its light dictate everything.
Why location matters more than people expect
Location is not just a background. It affects three things at once:
- the style of the portrait
- the quality of the light
- the comfort and confidence of the subject
A narrow hallway, a bright window, a shaded courtyard, and a rooftop all create very different results even if the pose stays the same. A good location gives you options: open shade, reflective surfaces, clean lines, texture, and enough space to move. In real estate photography, I constantly evaluate how a room’s surfaces bounce light and how clutter distracts from the architecture. For a portrait, the same evaluation applies — the background either supports the person or fights for attention.
For portrait work, the best locations usually offer multiple usable spots within a short walking distance. That matters because light changes quickly, especially outdoors. If one corner becomes too contrasty, you should be able to shift a few steps and keep shooting. When I scout a property for an interior shoot, I always note the secondary angles — the spot near the staircase, the corner by the patio door — because those become backup portrait locations if the main setup fails.
How light changes the feel of a portrait
Light controls the mood of the image more than almost any other variable. Soft light feels calm and flattering. Hard light feels bold and graphic. Side light creates depth. Backlight adds separation and a more cinematic look. This is as true for a face as it is for a kitchen island — the direction and quality of light define the visual story.
A simple way to think about it:
- soft light smooths skin and reduces harsh shadows
- hard light creates stronger contrast and more dramatic shape
- front light is clean and straightforward
- side light adds dimension and texture
- backlight creates glow and separation from the background
For most portrait sessions, soft, diffused light is the easiest starting point. Window light, open shade, and overcast daylight are reliable because they reduce harsh transitions on the face. In my architectural work, I use exactly the same soft light to reveal the texture of materials without burning out highlights. A north-facing window in a home gives a gentle, even illumination that works beautifully for both a living room shot and a headshot.
Best locations for flattering portrait light
Some locations consistently work better than others because they naturally shape the light. When I walk through a home before a real estate shoot, I mentally catalog these spots — they’re often the same places that make an interior photo sing.
| Location type | Light quality | Best use |
|---|---|---|
| North-facing window | Soft and even | Indoor portraits with minimal setup |
| Open shade near a building | Diffused and directional | Outdoor portraits without harsh shadows |
| Tree shade with open sky | Soft but natural-looking | Casual lifestyle portraits |
| Covered porch or overhang | Controlled and flattering | Quick sessions in changing weather |
| Bright wall or light pavement nearby | Bounce light | Brightening shadows on the face |
The best portrait locations are rarely the most obvious ones. A parking garage opening, a shaded walkway, or a plain wall with good reflected light can outperform a scenic but badly lit spot. I’ve shot executive portraits in a bare stairwell where the white walls acted like giant softboxes — far better than the grand lobby with harsh overhead spots. The same principle saves real estate photos: a simple, well-lit corner often reads better than a cluttered room with mixed color temperatures.
How to read a location before the session starts
Before shooting, walk the location and look for light first, then composition. This is the exact routine I follow when I arrive at a property for an interior shoot. I ignore the furniture and finishes initially and just study where the light falls and how it moves.
Use this quick check:
- Find the brightest areas and the darkest areas.
- Look for shade that still has visible sky light.
- Notice where light is bouncing off walls, sidewalks, or windows.
- Check whether the background is clean or distracting.
- See if the location offers multiple angles with different light.
A practical habit is to stand where the subject would stand and observe how your face is lit. If the light looks uneven on you, it will usually look uneven on the subject too. I do the same test when setting up a room shot: I place myself at the key vantage point and watch how light wraps around the space. If shadows under cabinets are too deep, I know I’ll need to adjust or add fill.
Timing matters: when the light is best
The time of day changes the same location completely. In real estate, I schedule exterior shots around the sun’s path to avoid blown-out windows and harsh shadows. For portraits, the clock is just as critical.
Best times for outdoor portraits
- Early morning: soft, clean light with fewer people around
- Two hours after sunrise: flattering light with low contrast
- Late afternoon into golden hour: warm, directional, and naturally flattering
- Two hours before sunset: one of the most dependable windows for outdoor portraits
Midday is the hardest time because the sun is high and shadows fall sharply downward. That does not mean it is unusable, but it usually requires open shade or strong control of the environment. I’ve had to shoot agent headshots at noon on a rooftop — we moved under a pergola and used the white ceiling as a massive diffuser. The same trick works for photographing a patio set: avoid direct sun, find the shade line.
What to do in harsh midday sun
If the session must happen at midday, do not fight the sun directly. Move the subject into shade. This is identical to how I handle exterior real estate photos when the sun is punishing — I never shoot a front elevation with the sun blasting straight onto the lens or creating deep porch shadows.
Good options include:
- building shadows
- covered walkways
- large tree shade
- doorways
- the edge of a shaded area, not the deepest part
That edge matters. Deep shade can make the subject look flat and dull. The transition area near the shade line often gives you the best balance of softness and direction. When photographing a backyard, I’ll place a person just inside the shadow of the house where they still catch some skylight — the result is dimensional but not harsh.
A common mistake is placing the subject in direct sun because the background looks attractive. This usually creates squinting, nose shadows, and uneven skin tone. The background is easier to work with than bad light on the face. In property photography, I’d rather underexpose a bright window and bring back the interior in post than let the room go dark for the sake of the view. Priorities are the same: the main subject gets the good light.
How to use windows in portrait sessions
For indoor portraits, a window is often the main light source. Treat it like a softbox. I approach it exactly as I do when shooting an interior: the window is the key light, and everything else in the room either helps or hurts.
To get a clean result:
- place the subject near the window, not deep inside the room
- angle the face toward the window for soft frontal light
- turn the body slightly away for more shape
- use curtains or sheer fabric to diffuse harsh sunlight if needed
- avoid mixed lighting from overhead bulbs unless you can control them
A window on a cloudy day is especially useful because the clouds spread the light evenly. This gives you a gentle falloff and keeps shadows under control. I’ve used the same overcast window light to shoot a living room scene and a portrait of the homeowner on the sofa — the consistency in light quality ties the whole visual story together.
The role of reflections and bounce
Many people focus only on the main light source and forget the surrounding environment. That is a mistake. Light also bounces off nearby surfaces. In architectural photography, I rely on bounce light to open up shadows in kitchens and hallways; for portraits, it does the same for the face.
Good bounce sources include:
- white walls
- pale pavement
- light-colored fences
- storefront windows
- nearby buildings with reflective facades
Bounce light can soften shadows under the eyes and chin. It can also rescue a location that seems too dark at first glance. If a subject is standing near a bright wall, that wall may act like a second light source. I’ve used a simple white garage door to fill in shadows on a real estate agent’s face during an exterior portrait — no reflector needed. The same door, by the way, would bounce light into a dark garage interior if I were shooting the space.
Choosing the right background for the light
A beautiful background still fails if the light on the subject is poor. The best portrait backgrounds support the light rather than compete with it. This mirrors the way I style a room for real estate: remove visual clutter so the space itself becomes the hero, not the objects in it.
Look for backgrounds that are:
- simple
- not overly busy
- consistent in tone
- free from bright distractions behind the head
- separated from the subject enough to avoid a flat look
A dark background can make bright skin pop. A light background can create an airy look. The important part is contrast control. If the background is brighter than the face, the viewer’s attention may go to the wrong place. In a home, I’ll often close a door or shift a piece of furniture to eliminate a distracting highlight behind the subject — just as I would declutter a countertop before an interior shot.
A practical workflow for planning a portrait session
Use this process for more consistent results. It’s the same methodical approach I bring to a property shoot, just aimed at a person instead of a room.
- Choose the mood first: soft, dramatic, editorial, casual, or polished.
- Pick a location that supports that mood.
- Check the light at the time of day you will actually shoot.
- Scout for shade, reflections, and background distractions.
- Decide where the subject will stand before you start posing.
- Adjust the angle of the face to shape the light.
- Take one test frame and review the shadows before committing.
This workflow keeps you from making last-minute decisions under pressure. When I’m on a tight schedule with a listing, I do exactly this: walk the property, note the light at that hour, pick my hero angles, and only then bring in the camera. The same discipline makes portrait sessions faster and more predictable.
Common mistakes that weaken portrait sessions
Here are the errors that show up most often — and I see them mirrored in DIY real estate photos all the time:
- choosing a location for looks instead of light
- shooting in direct overhead sun without a plan
- ignoring the direction of the light
- placing the subject too far from the window
- using a cluttered background that pulls attention away from the face
- not checking the light at the exact session time
- assuming golden hour will solve every lighting problem
Golden hour is helpful, but it does not automatically produce a strong portrait. You still need to place the subject well and control the background. I’ve seen agents take exterior listing photos at sunset that are all flare and silhouette because they didn’t manage the angle. The same happens with portraits: warm light alone doesn’t fix a bad composition.
Quick checklist before you start shooting
- Is the subject in flattering light?
- Is the light soft enough for the intended style?
- Is there a clean background behind the subject?
- Are there distracting highlights or shadows?
- Can you move a few steps if the light changes?
- Is the session timed for the best available light?
- Does the location give you at least two usable setups?
If you can answer yes to most of these, you are in a good position to work efficiently. This checklist is essentially the same one I run through before pressing the shutter on a room: is the light even? Are the verticals straight? Is there a distracting reflection? The habit transfers directly.
When to prioritize location over perfect light
Sometimes the story matters more than the technically perfect setup. That happens in environmental portraits, branding sessions, travel work, and lifestyle photography. In those cases, a location that feels authentic can outweigh slightly less ideal light. For real estate marketing, this might mean shooting a chef in a busy kitchen with mixed light because the energy of the space is the point.
The key is to control what you can:
- move the subject into better light
- simplify the background
- wait for softer conditions
- use a reflector if needed
- shoot from an angle that improves separation
Good portrait work is often about small adjustments, not big gear changes. The same is true when I’m photographing a difficult room: a slight shift in tripod height or a half-step to the left can eliminate a reflection or hide a cluttered corner. Small moves, big impact.
FAQ
What is the best light for a portrait session?
Soft, diffused light is usually the most flattering because it reduces harsh shadows and keeps skin tones even. In a home, that often means north-facing window light or open shade on a porch — the same conditions that make an interior photo look clean and inviting.
Is golden hour always the best time for portraits?
No. Golden hour is excellent, but window light, open shade, and overcast conditions can be just as useful depending on the style you want. I’ve shot countless real estate exteriors at golden hour, but for a portrait, a softly lit room at noon can be more controllable and just as beautiful.
How do I choose a portrait location?
Look for places with clean backgrounds, usable shade, reflective surfaces, and enough variety to give you more than one setup. Walk the space like you would a property you’re about to list — note where the light pools, where the walls bounce, and where the clutter ends.
What if the location looks good but the light is bad?
Move the subject, change the angle, or use shade and bounce light. A strong location can still work if you control the light properly. I’ve turned a dark living room into a portrait spot by pulling the person close to a large window and using a white throw pillow as a fill reflector.
Can indoor portraits work without studio lighting?
Yes. A large window, a light wall, and careful subject placement can produce excellent natural-light portraits. This is exactly how I approach an interior shoot without supplemental strobes — find the natural light source and build the composition around it.
Conclusion
Location and light shape a portrait session together. The location gives you context and options; the light gives you mood, depth, and emotional impact. When you learn to scout for both at the same time, your portraits become more consistent, more flattering, and much easier to shoot.
The best sessions are rarely the ones with the most dramatic scenery. They are the ones where the photographer understands how the place and the light are working together. That understanding is what I bring to every real estate shoot — and it’s what turns a simple room into a compelling image, whether there’s a person in it or not.